Cookie preferences
Luckily, there is the Gel iQ permanent manicure kit to do at home, at our own pace, which allows us to have perfect shiny nails for more than two weeks. It is very easy to use, we explain it step by step here. Are you ready? Let's start!
You can see how to apply your Gel iQ system step by step in this video:
And, here are the steps:
What do you need?
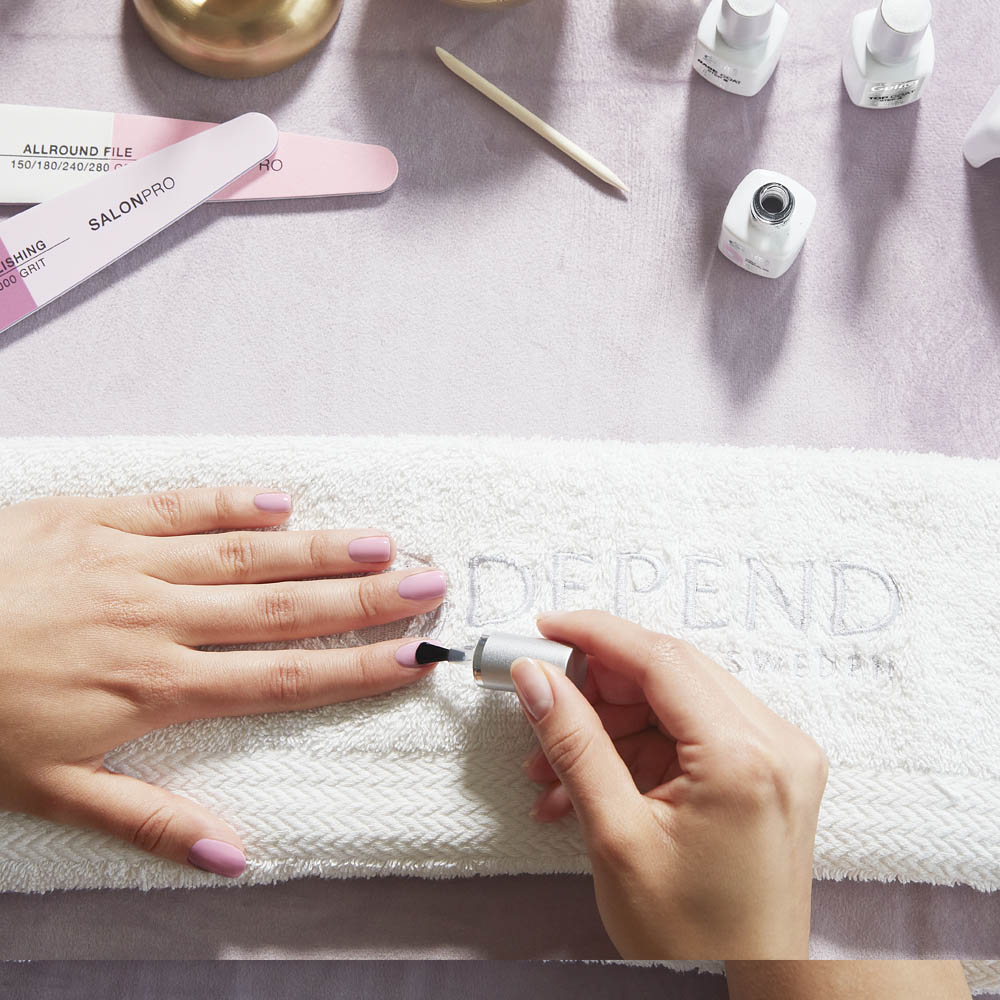
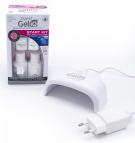
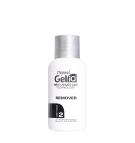
- Gel iQ permanent manicure kit (comes with LED drying light with power adapter and timer, Pre-Cleanser, High Shine cleanser, base, top coat, a nail file and an orange stick)
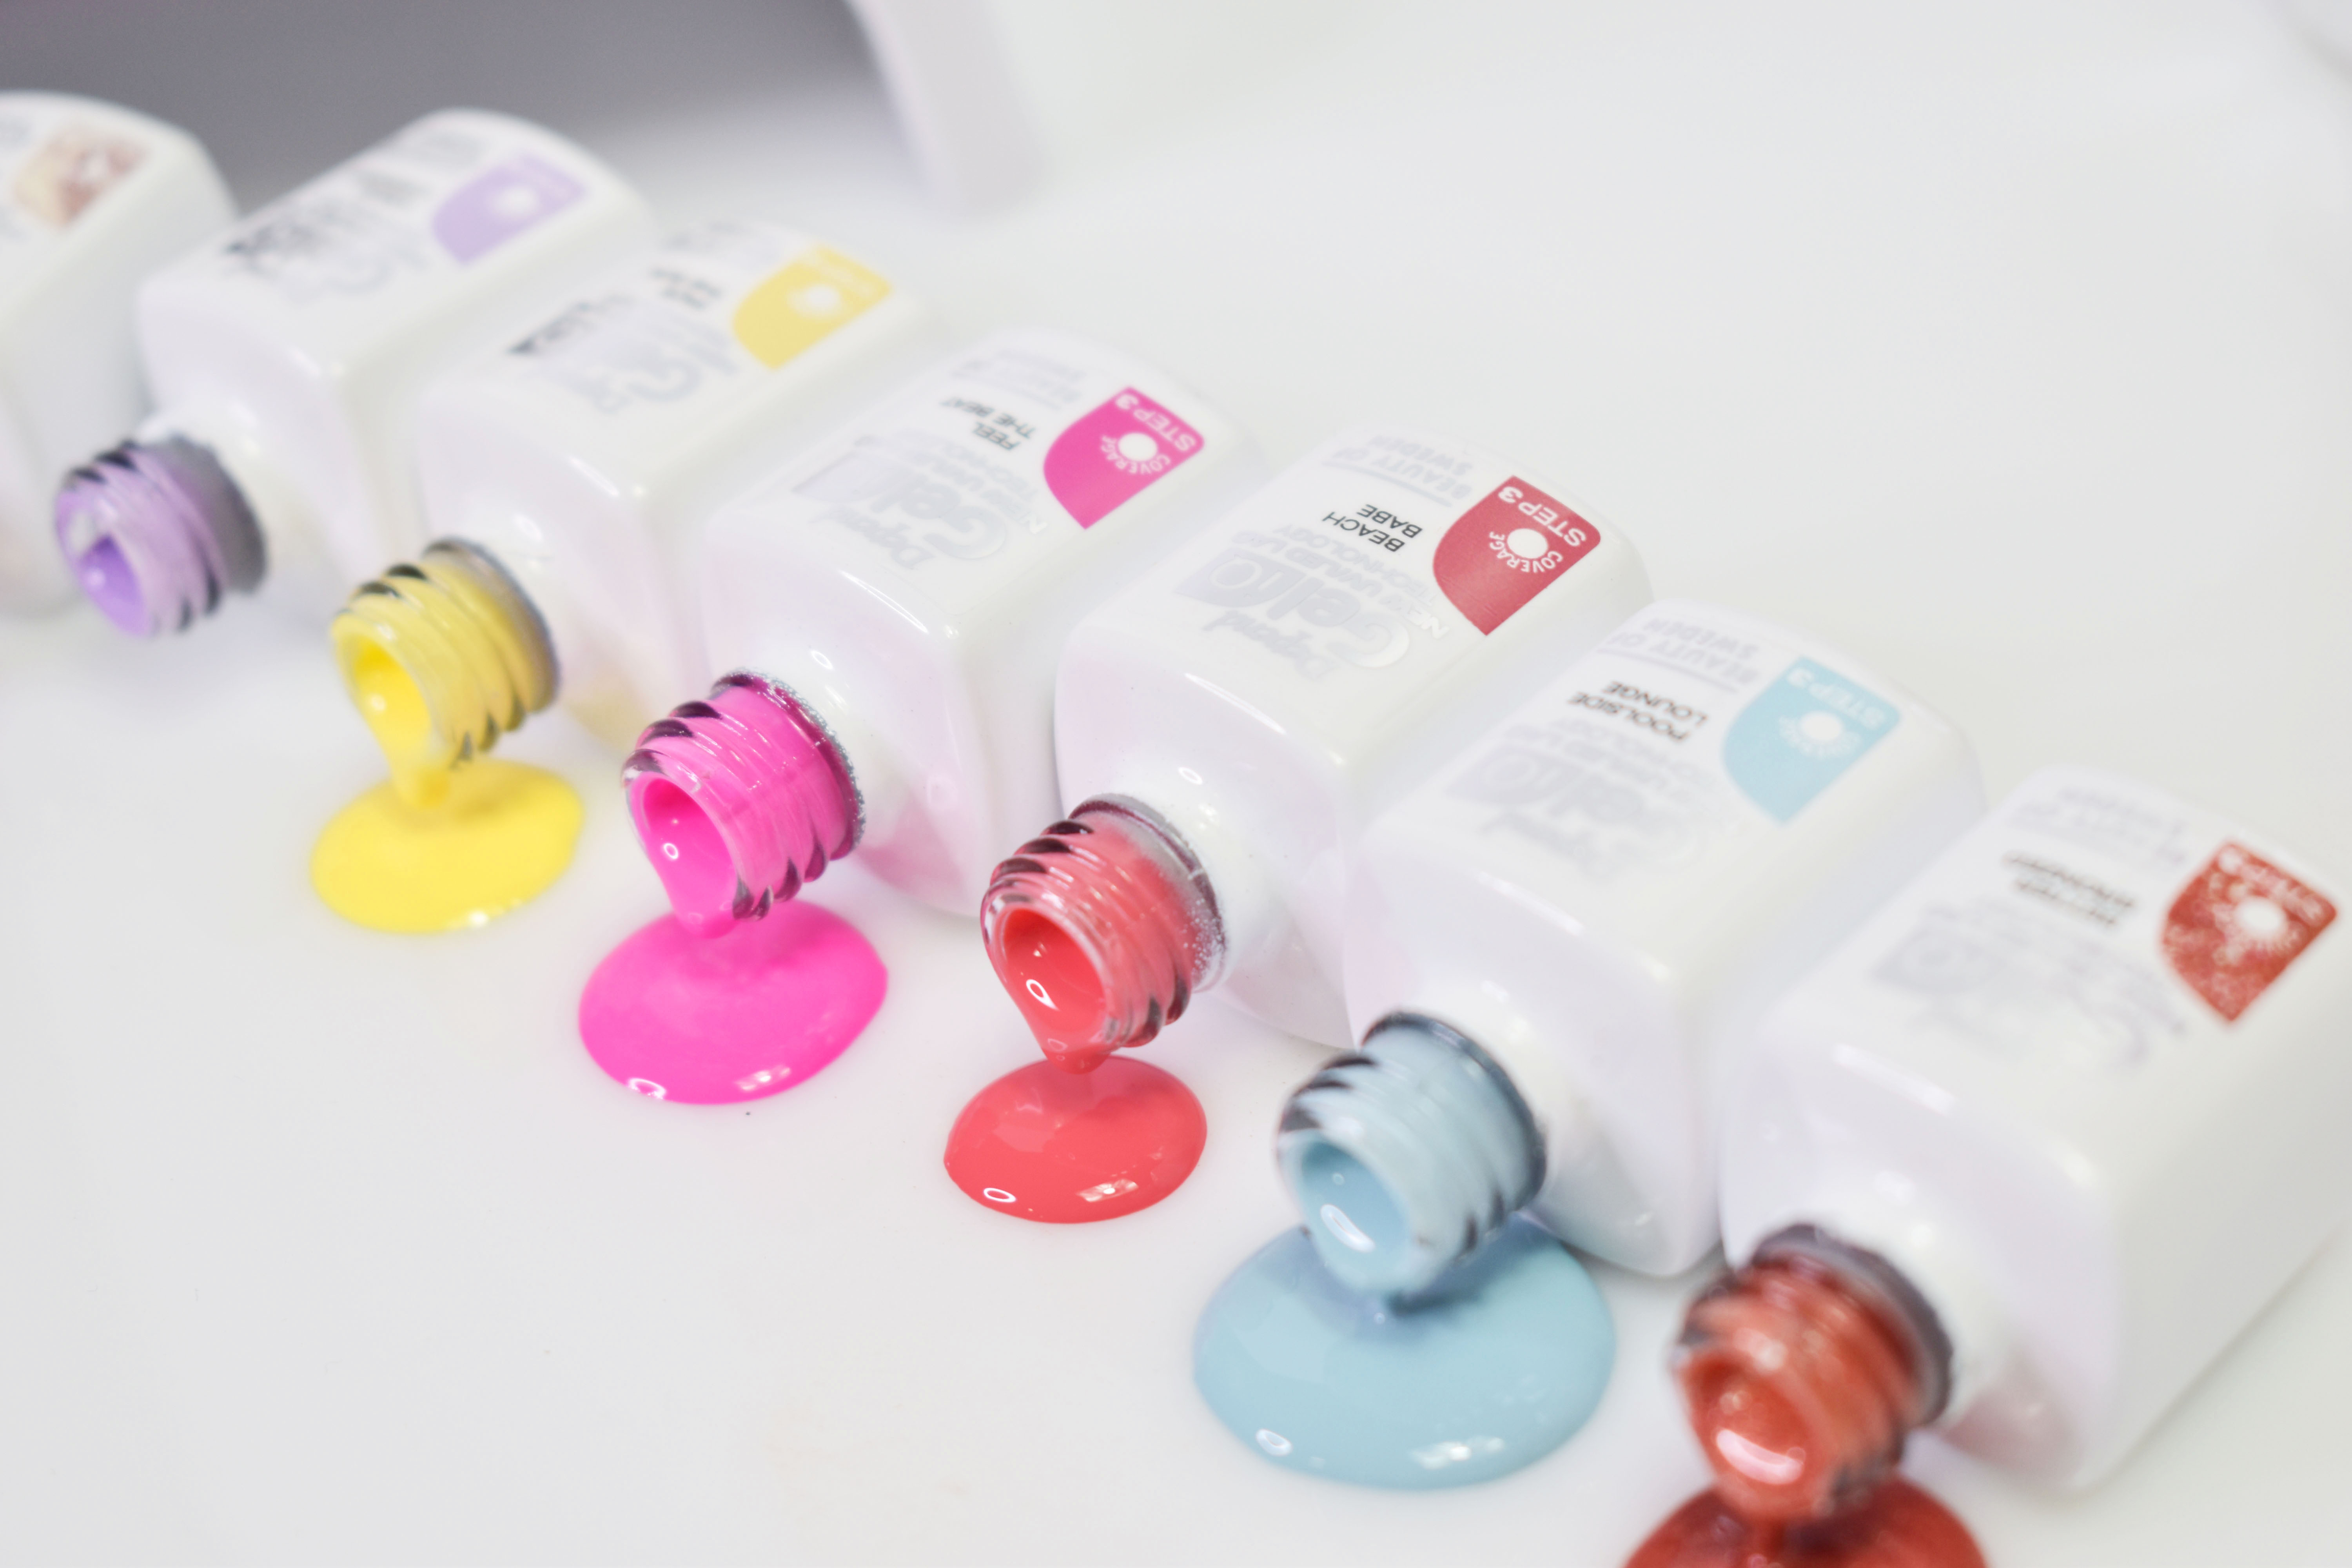
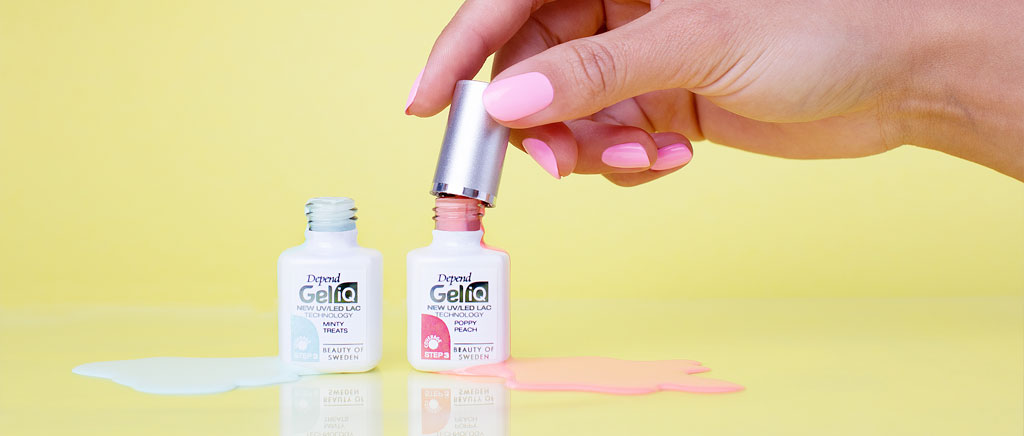
- Gel iQ permanent nail polish in the colour of your choice
- Cotton pads and swabs
Keep in mind that the manicure process with the Gel iQ permanent system always begins with the nails of the little, ring, middle and index fingers, and ends with the thumb. So first we will polish these four fingers and then we will repeat the same process with the thumbs.
Let's go!
1.- Once you have the nails in the desired shape and length and the cuticles under control, apply the Pre-Cleanser with a cotton pad and carefully clean your nails. Wait about 30 seconds for them to dry without touching their surface. It is important that you avoid contact of the Gel iQ nail polishes, base or top coat with your cuticles or the skin around your nails in all steps.
2.- Apply a thin layer of base (Gel iQ BASE / Step 2). Let it dry for 30 seconds under the LED lamp.
3.- Apply a thin layer of Gel iQ permanent nail polish in the chosen colour, taking care not to touch the cuticle or the skin around the nail. Let it dry for 30 seconds under the LED lamp. Apply a second layer of colour following the instructions in this point step by step. It is important that the layers of polish are thin, so your manicure will last longer and the result will be more beautiful.
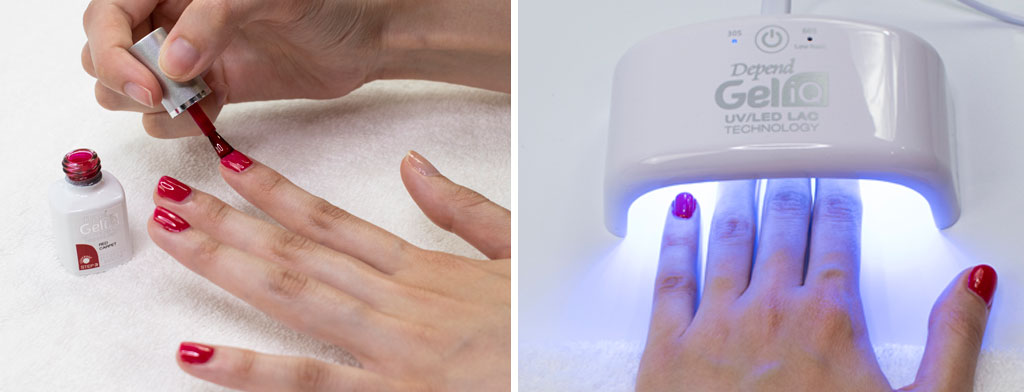
4.- We are almost there, we just need the top coat, the final touch that will give your manicure a spectacular shine as well as the gel effect. Give your nails a layer of Gel iQ TOP / Step 4, being careful not to touch the cuticle or the skin around the nail and, again, let it dry under the LED lamp for 30 seconds. Clean the entire surface of your nails with a cotton pad richly soaked with High Shine Cleanser.
5.- Repeat the same steps on the thumbs.
And now you can enjoy your manicure, which will remain impeccable for more than two weeks. If instead of doing a manicure with the Gel iQ system you prefer to do a pedicure, the steps to follow are exactly the same, only this time you can work on all 5 nails at the same time. It's that easy to always have the perfect mani-pedi with the Gel iQ permanent system.